One of the most crucial things you can do to maintain your car’s performance is to change the engine oil and filter on a regular basis. So, how to change your oil?
You need to keep safety first. Then, use a ramp when changing your oil, drain the old oil, unscrew the oil filter, install the new oil filter, add the new oil, and dispose of old oil.
Read on to find more detailed information.
Safety First
These steps, which were carried out in this photo on a 2008 Nissan Altima, describe how to change your oil and oil filter. While most vehicles follow a similar path, each one has its own set of steps. Reference a repair guide for more specific information for your vehicle. Make sure you buy the appropriate oil and filter for your car because oil comes in various weights and types and different vehicles require different amounts. Your owner’s manual will also contain information on the weight, kind, and quantity of oil.
To make the job easier, you’ll want the oil in your car to be warm, but not hot. Run the car if it’s cold outside, or wait for it to cool if it’s been running. Wheel chocks should be positioned behind the back wheels as you park your car on a level surface with the parking brake applied. Place the car on jack stands after lifting the front end. If you use a ramp, you should have someone watch you drive up onto it so that you don’t go too far and fall off. Wear safety goggles and gloves whenever you work on your car.

How to Change Your Oil?
Here are the details:
Use a Ramp When Changing Your Oil
Drive your car onto your ramps, or use an inexpensive floor jack along with a set of jack (safety) stands (not shown). Make sure to engage the parking brake. For more information, refer to the instructions that come with the jack stands or drive-on ramps. Next, make sure the car is firmly supported by shaking it from side to side. Make sure ramps won’t slide as you drive onto them if you use them. In order to prevent the ramps from moving forward, we placed a rubber mat under the front of the stand and a 2 x 12 plank. Have a helper guide you so you don’t drive off the ramp.
Drain the Old Oil
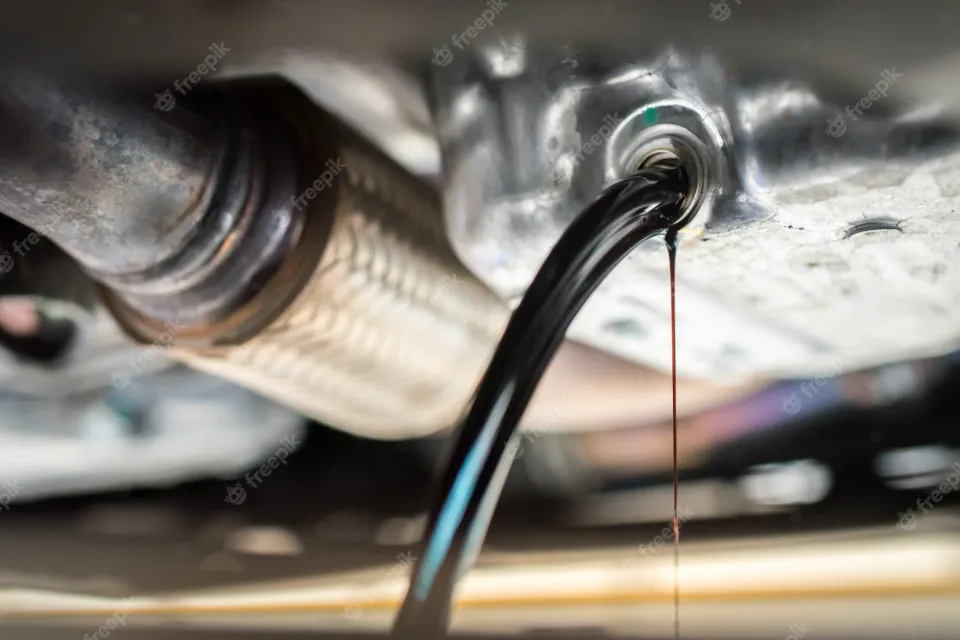
The drain plug should be loosened by about a half turn with a box-end wrench. A adjustable wrench should not be used as it is more likely to slip and eventually damage the plug head. Additionally, keep in mind the memory jogger “righty tighty, lefty loosy.” Put the drain pan in front of the drain plug. When the plug is ready to be removed, quickly remove it from the way by unscrewing it. To prevent the plug from falling into the drain pan, hold onto it. After allowing the oil to drain for at least five minutes, replace the plug.
Unscrew the Oil Filter
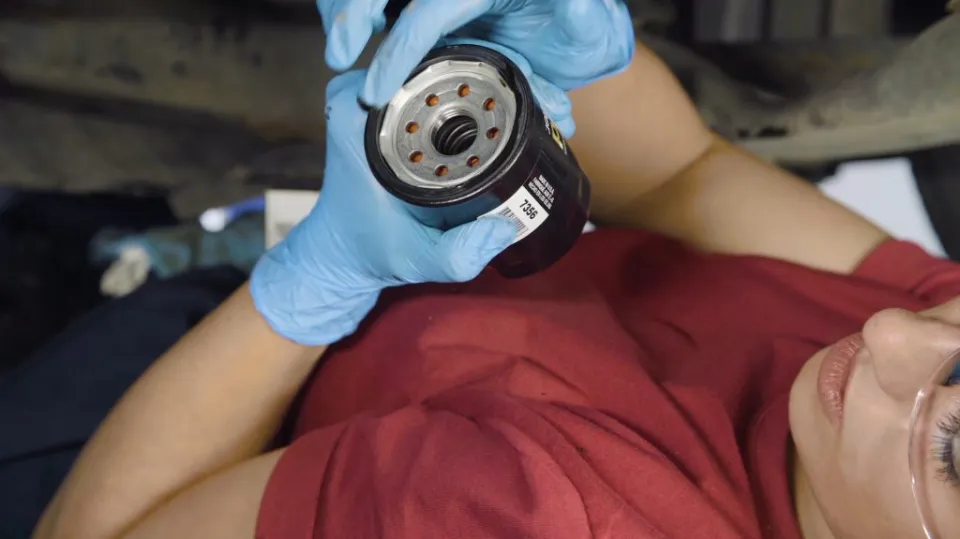
Unscrew the oil filter, using an inexpensive oil filter wrench. Make sure it is the proper size and configuration if you use the type shown. Some wrenches cinch around the filter and turn from the side. A 3/8-in. hose can be inserted into some, like the one in the image, which fits the filter’s bottom. drive socket or a wrench. The key is having enough space to move the tool. Turn the oil filter counterclockwise to release it. When the filter is loose, use a rag to unscrew it by hand. Put the drain pan under the filter but be careful, it might be full of oil. Oil should be poured into the drain pan after removing the filter. Make sure the old oil filter ring gasket hasn’t adhered to the engine and wipe off any old oil or dirt from the filter-mounting surface to ensure the new filter will seal properly.
Install the New Oil Filter
Smear a few drops of clean oil on the new filter’s ring gasket. Spin the new filter on slowly using your hand. As you install the new filter, take care to avoid getting any debris from the frame or other components on the ring gasket. When the gasket is seated against the engine, turn the filter on clockwise. To fully seat the ring gasket, turn the filter a little more than a half turn by hand. If you can’t get your hand around it firmly because space is tight, use your wrench. Avoid overtightening the filter because you risk rupturing the gasket.
Add the New Oil
Cleaning the area around the fill cap and the engine oil fill hole should be done. Using a clean, dry funnel, add the new oil. Don’t get any on the engine. If you do, do it right away by wiping it up. For information on the proper weight, API rating, and volume of oil you should add, consult your owner’s manual. Start the engine after replacing the oil fill cap, checking the oil level on the dipstick (it might be slightly above the mark until you run the engine). To allow exhaust fumes to escape, make sure the garage door is open. Check the oil pressure gauge for the proper pressure reading or be certain the oil light on the instrument cluster is off. Check for leaks under the vehicle. Lower the car and recheck the dipstick level to make sure the oil is up to the full mark.
Dispose of Old Oil
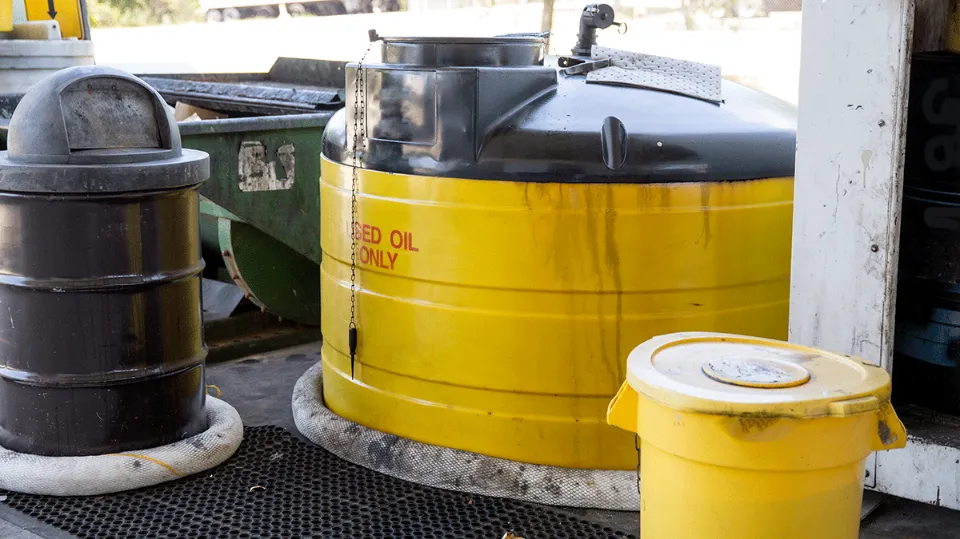
If you don’t mind a messy job, pour the used oil back into the oil bottles. The container shouldn’t be disposed of with other trash. Used motor oil must be disposed of properly because it is hazardous waste. Retailers of motor oil are required to accept used oil for recycling in many places. If your store doesn’t take back used oil, check with a repair shop, because many shops will dispose of used oil. Otherwise, contact your local waste removal company for instructions. Your old filter should be completely drained of oil before being thrown in the trash.
Why Change Your Own Oil?
The home oil change is one of the foundational tasks of do-it-yourself auto maintenance. It’s an easy process that only needs a few tools, and it’s a surefire way to save money while avoiding the hassle of spending hours sitting in a boring waiting area somewhere reading dated magazines.
More than anything, a routine oil change is a great way to get to know your car and take part in its maintenance. You have a fantastic opportunity to look around and determine if anything else needs your attention while you are working under the hood and underneath the car.

Oil Change Frequently Asked Questions
Is It Necessary to Use a Stabilizer Or Additive With Every Oil Change?
No. Today’s engine oils are formulated to fully protect the engine. They don’t need extra help.
When Should I Change My Oil?
Before or at the end of the manufacturer-recommended oil-change intervals for your vehicle, you should change your oil and filter. These intervals are based on mileage or time. This will ensure the best possible protection for all of your components while also keeping your engine oil in good condition.
How Should I Dispose of My Old Oil After An Oil Change?
It’s never a good idea to pour used oil down the drain because it can harm the environment. Pennzoil helps DIYers protect the environment. You can dispose of used motor oil and oil filters safely at your neighborhood Jiffy Lube®, Walmart Tire & Lube Express, or most oil change facilities.
Summary: How to Change Your Oil?
Fortunately, changing your oil is simple and affordable, so it’s best to do it as soon as your car needs it.
You need to keep safety first. Then, use a ramp when changing your oil, drain the old oil, unscrew the oil filter, install the new oil filter, add the new oil, and dispose of old oil.
If you have any questions, please leave a comment. KV Auto tries to give you the best car industry information. Thank you for reading.


